
Magento is a powerful ecommerce platform. It provides online store owners with a gamut of rich features. One such Magento feature is that it enables users to create multiple stores within a single Magento installation.
The benefits of such an arrangement are that store owners can sell different products using different domains within the same Magento installation. The same admin panel will suffice for all the stores you need not have to log on to different admin panels to manage sales and customers of various stores.
Here’s how you can configure Multi store functionality within the same admin panel.
Step 1: Create Categories for different Products
Step 2: Store Configuration
Step 3: Server Configuration for Multiple Stores
Consider that you are creating two stores within the same Magento installation to be managed using the same admin panel. You can run two separate websites as follows under the same domain name:
www.domainname.com/magento
www.domainname.com/magento/magento2
STEP 1 : SET CATEGORIES FOR YOUR STORES
Before you begin with any Magento store configuration, you will need to create categories for your products. This can be easily done using the admin panel.
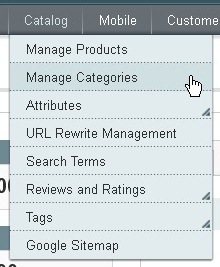
Go to Catalog-> Manage Categories as shown below.
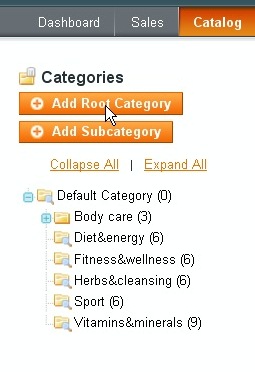
All Magento Installations come with one default root category called the “Default Category”. If both your stores use the same category, you can use the default one. If not, click on “Add Root Category” and create a new root category.
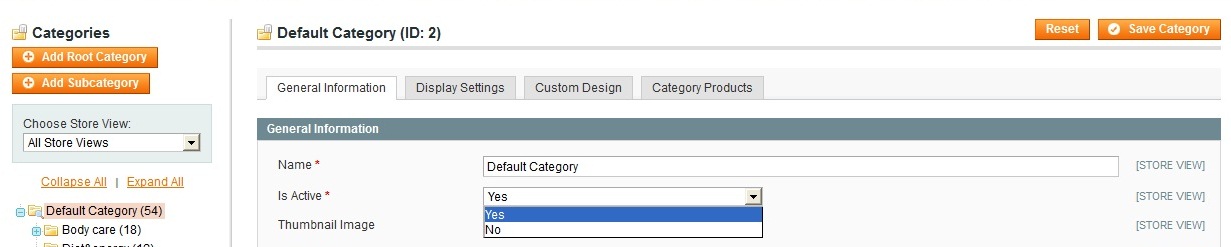
After that’s done, go to the “General Information” section and set the option for “Is Active” to YES.
Also, remember to set “Is Anchor” to YES under Display Settings dropdown.

After all these settings are done, click on “Save Categorytegory”
(NOTE: If the websites do not share the same catalog, root category should be created for each website. )
STEP 2 STORE CONFIGURATIONS ON THE MAGENTO ADMIN PANEL
CREATE WEBSITE
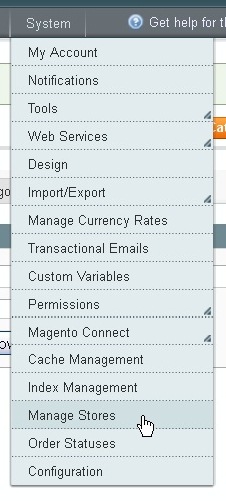
Now that our categories are ready – whether with the same root or different, we need to create websites for them. Go to System -> Manage Stores and click on “Create Website”
Enter the following details
Name: Domain name for the new site
This parameter will be used by the Apache server to point to the right domain name.
CREATE STORES
The next step is, to create stores for the websites that were created in the previous step.
Go to System -> Manage Stores -> and click on “Create Stores”
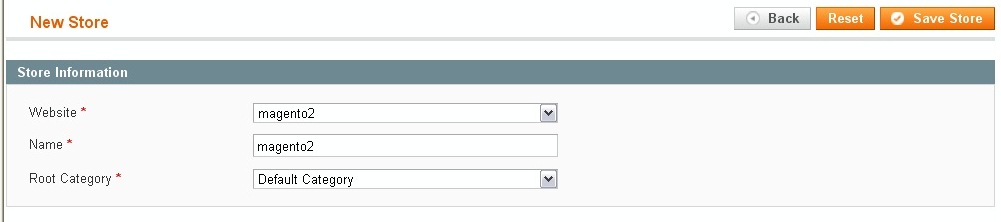
Enter the following details
This is the website that this store will be linked to.
Name: this is generally same as the website name.
Root Category: Select the root category that will be used for this store. (These are the same categories that were created in STEP 1 – select the appropriate one for the store as this will display the right catalog for the respective store).
CREATE STORE VIEW
After that’s done, we need to create a store view – this is the interface that customers will be able to access at the front end.
Go to System -> Manage Stores and click on “Create Store View”
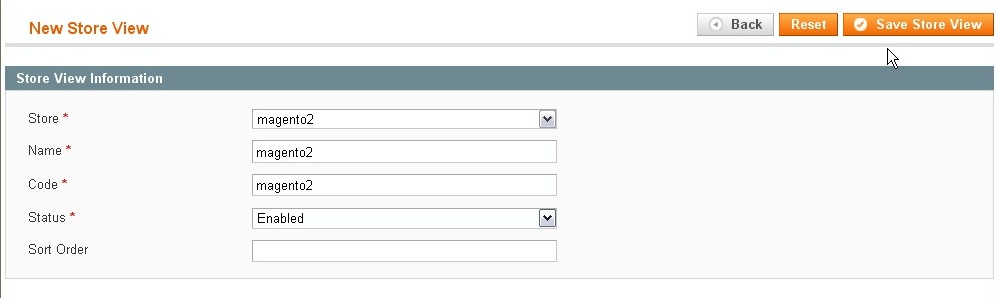
Store: Select the store to be associated with this view.
Name: Name the store (Select which language version – eng, fre, german etc.)
Code: Code for this view
Status: Select enabled so that this store will be accessible from front end.
SECURE / UNSECURE BASE URL
Under System -> Configuration -> General -> Web first select the Current Configuration Scope.
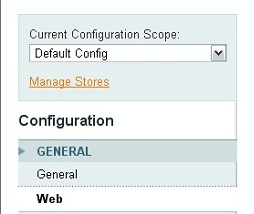
If you are working with different domains, make sure you select one domain at a time to configure these settings.
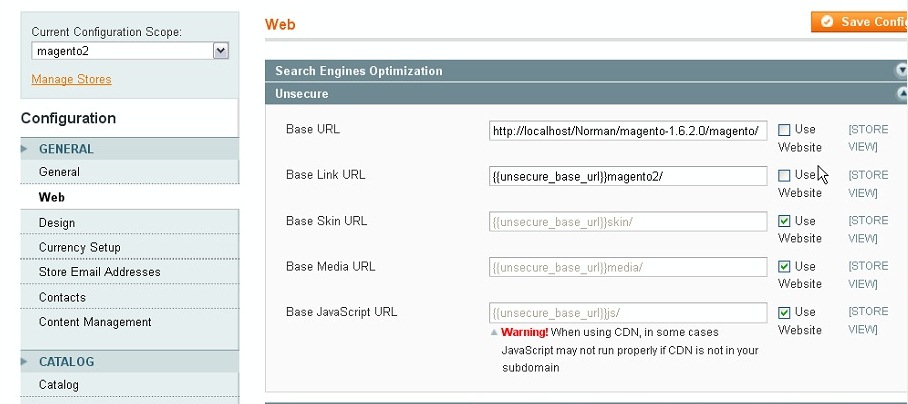
Modify the URLS under both the sections – Secure and Unsecure.
Select the domain name and set the corresponding URLs. Repeat for all the other domains. If you are using a single domain, set URLs here.
STEP 3 STORE CONFIGURATION ON SERVER
Now, as per our example, let’s see how we can add multiple stores at the server end. Our second website, needs to be added.
Access the Magento Directory on the server and create a sub directory magento2.
From the magento folder, copy two files – index.php and htaccess to the magento2 folder.
In case you are using separate domains, copy them to the root folder of the other domain.
Index.php
Next, open the index.php file and make the following changes:
“$mageFilename = ‘app/Mage.php’;” Change it to $mageFilename = ‘../app/Mage.php’;
Save Changes.
Htaccess
Now open the copied htaccess file and add this at the very end:
SetEnvIf Host .*base.* MAGE_RUN_CODE=”base”;
SetEnvIf Host .*magento_site_2.* MAGE_RUN_TYPE=”magento2″;
Magento2 here is the website code taken from step2.
Again save changes.
Back to the admin Panel
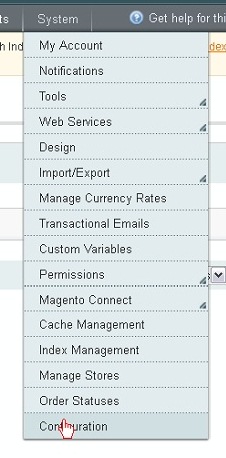
After these initial configurations are complete, go to the Magento Admin Panel, System -> Configuration -> General.
Ensure that the Default Config is selected under configuration scope.

Click on Web and under URL options ensure that you select NO for Auto-Redirect to base URL and save the changes.
The final step is to change the default config to the newly created website view. Under the web tab, configure for both secure and unsecure tabs. Select the corresponding domain names and remember to uncheck “Use Default STORE VIEW” Save all your configurations and you are good to go!
